In the previous article, we were able to set up the development environment for AWS.
Now, let’s learn AWS Services by building an application. During the process of building this application, we will be introduced to various AWS Services, and most importantly, we will understand the rationale behind using a particular Service.
Idea
We will start by building a simple Photo Application, Moments.
Here, users can
- Upload photos
- View them in chronological order.
For now, let’s assume it’s a single user who uses this application. We will enhance this app as we progress in building it.
UI Mockups of Application
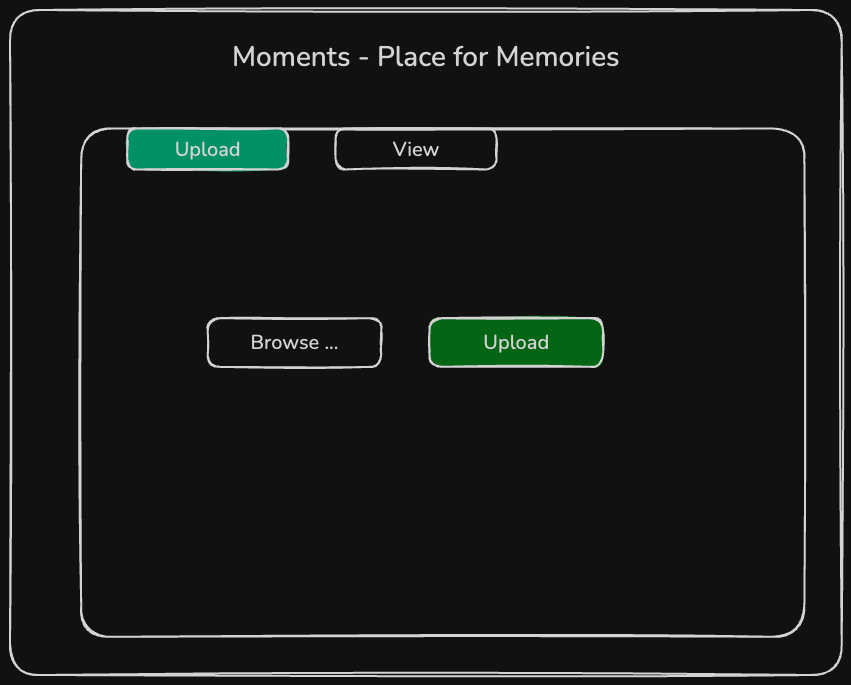
Since the requirements are clear, let’s create mockups to visualize the final application.
Upload photos
Users can upload a single photo or multiple photos.
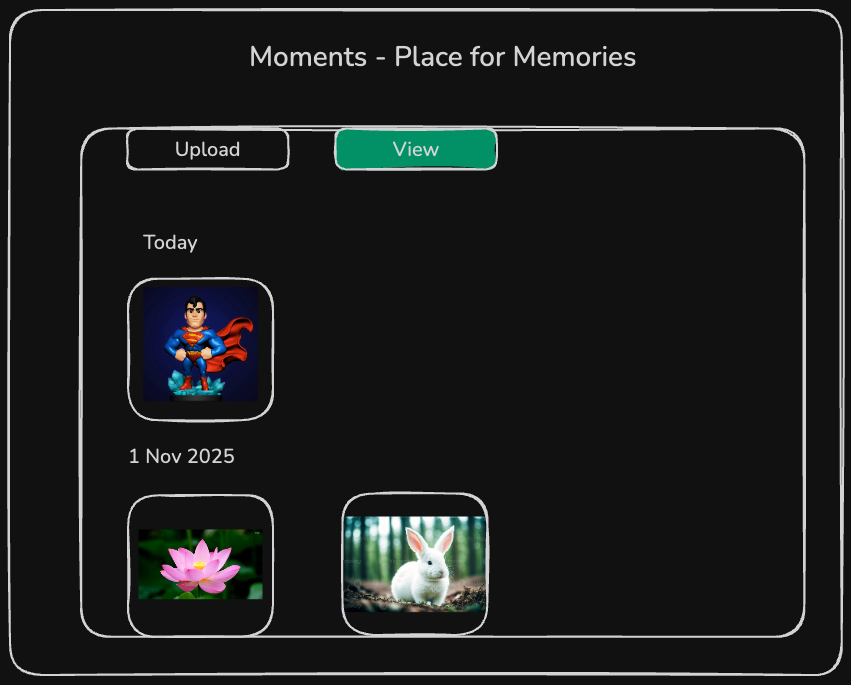
View photos
Users can view photos uploaded so far in chronological order.
Technology Stack
We can build this app using various combinations of programming languages and frameworks.
For this app, we will use:
- React for the frontend
- Spring Boot for the backend
- AWS Services
Although the main focus of this post series will be on AWS, we will touch upon relevant parts from the frontend/backend if required.
Implementation
The corresponding code for reference is available here. I suggest coding along with the post.
Before proceeding further, you should have set up the AWS development environment as discussed here.
As a first step, we will host the static frontend page on S3.
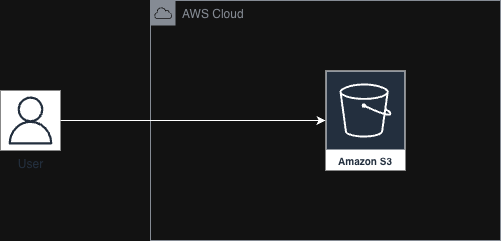
S3 (Simple Storage Service) is an AWS Service that stores files as objects of any size.
S3 provides out-of-the-box resiliency for static web content. It’s the quickest way to host static content.
I prefer AWS CLI over the AWS console. Whenever AWS CLI seems complex, I fall back to the AWS console for clarity.
API documentation for s3api can be found here.
- Let’s create a bucket with a unique name.
    # Let’s create a bucket with unique name.
    frontend ~ aws s3api create-bucket --bucket moments-place-for-memories --region us-east-1
    {
        "Location": "/moments-place-for-memories"
    }
    # Verify whether the bucket is created
    frontend ~ aws s3api list-buckets
    {
        "Buckets": [
            {
                "Name": "moments-place-for-memories",
                "CreationDate": "2025-11-22T16:00:36+00:00",
                "BucketArn": "arn:aws:s3:::moments-place-for-memories"
            },
            {
                "Name": "test-react-app-22nov-bucket",
                "CreationDate": "2025-11-22T15:21:55+00:00",
                "BucketArn": "arn:aws:s3:::test-react-app-22nov-bucket"
            }
        ],
        "Owner": {
            "ID": "c6e83317671833f41a0df538fd46af1b1bc41403f643c51e840fd879bf087c40"
        },
        "Prefix": null
    }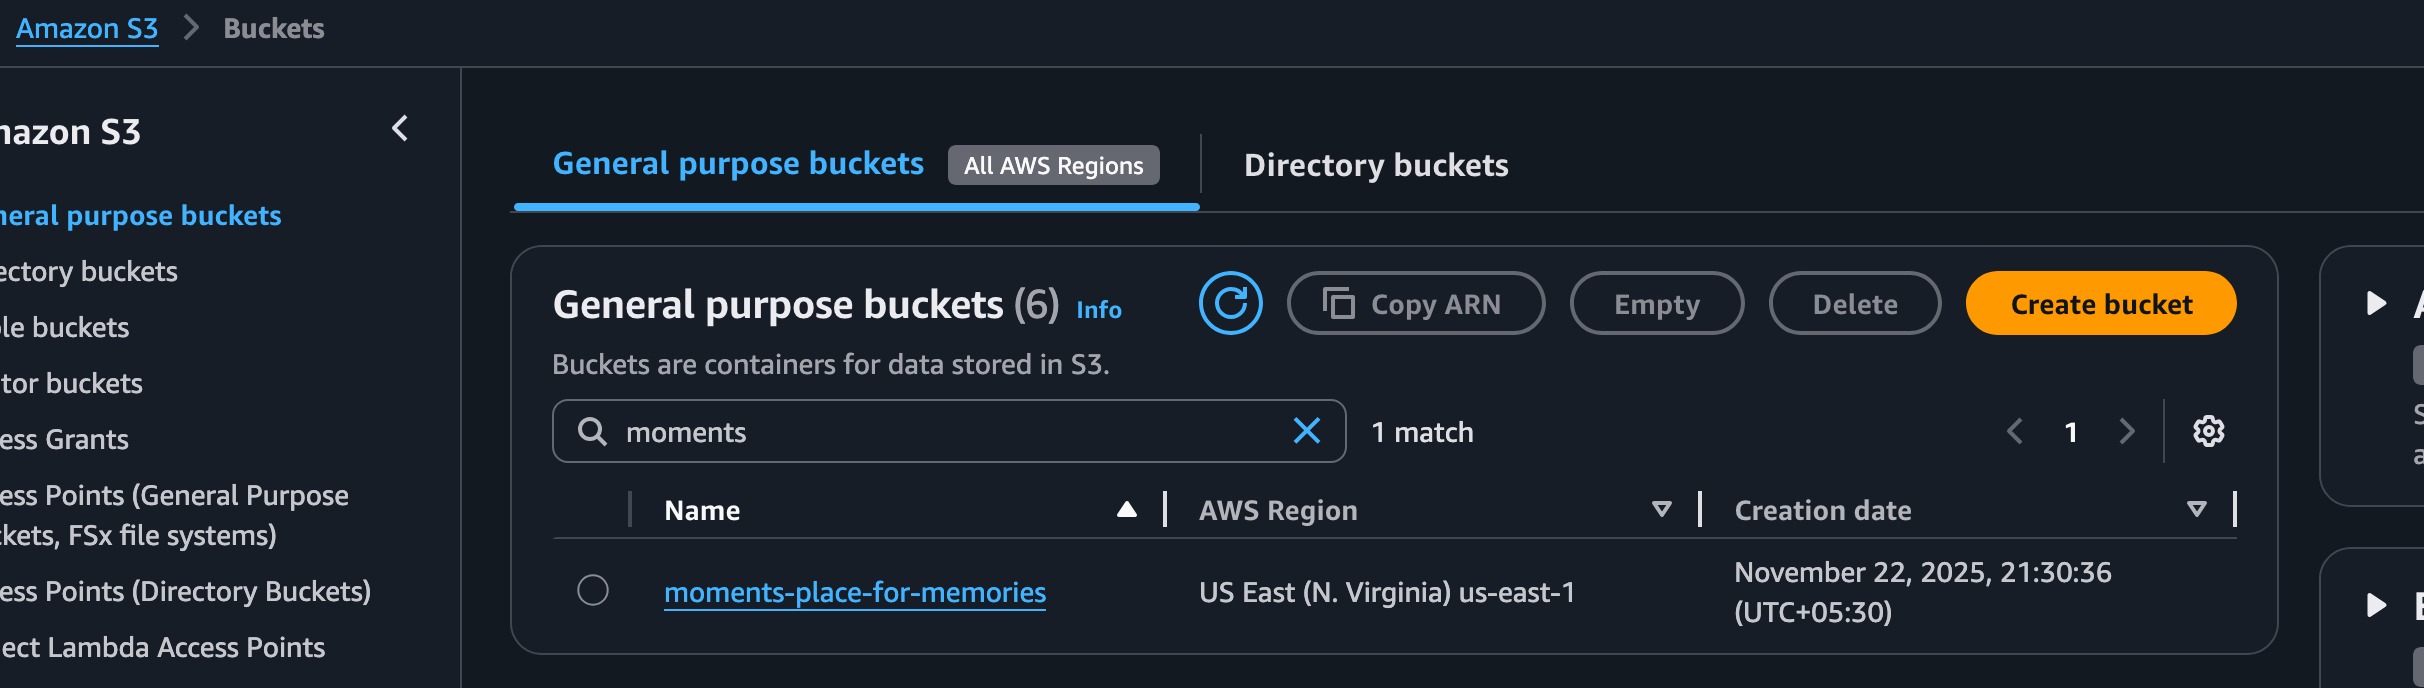
By default, public access to S3 objects is disabled. Let’s enable public access to S3 objects for now.
# Enable public access to S3 objects
frontend ~ aws s3api delete-public-access-block --bucket moments-place-for-memories
- Build the frontend code and upload the contents of the build folder into S3.
# Build the frontend code
frontend ~ npm run build
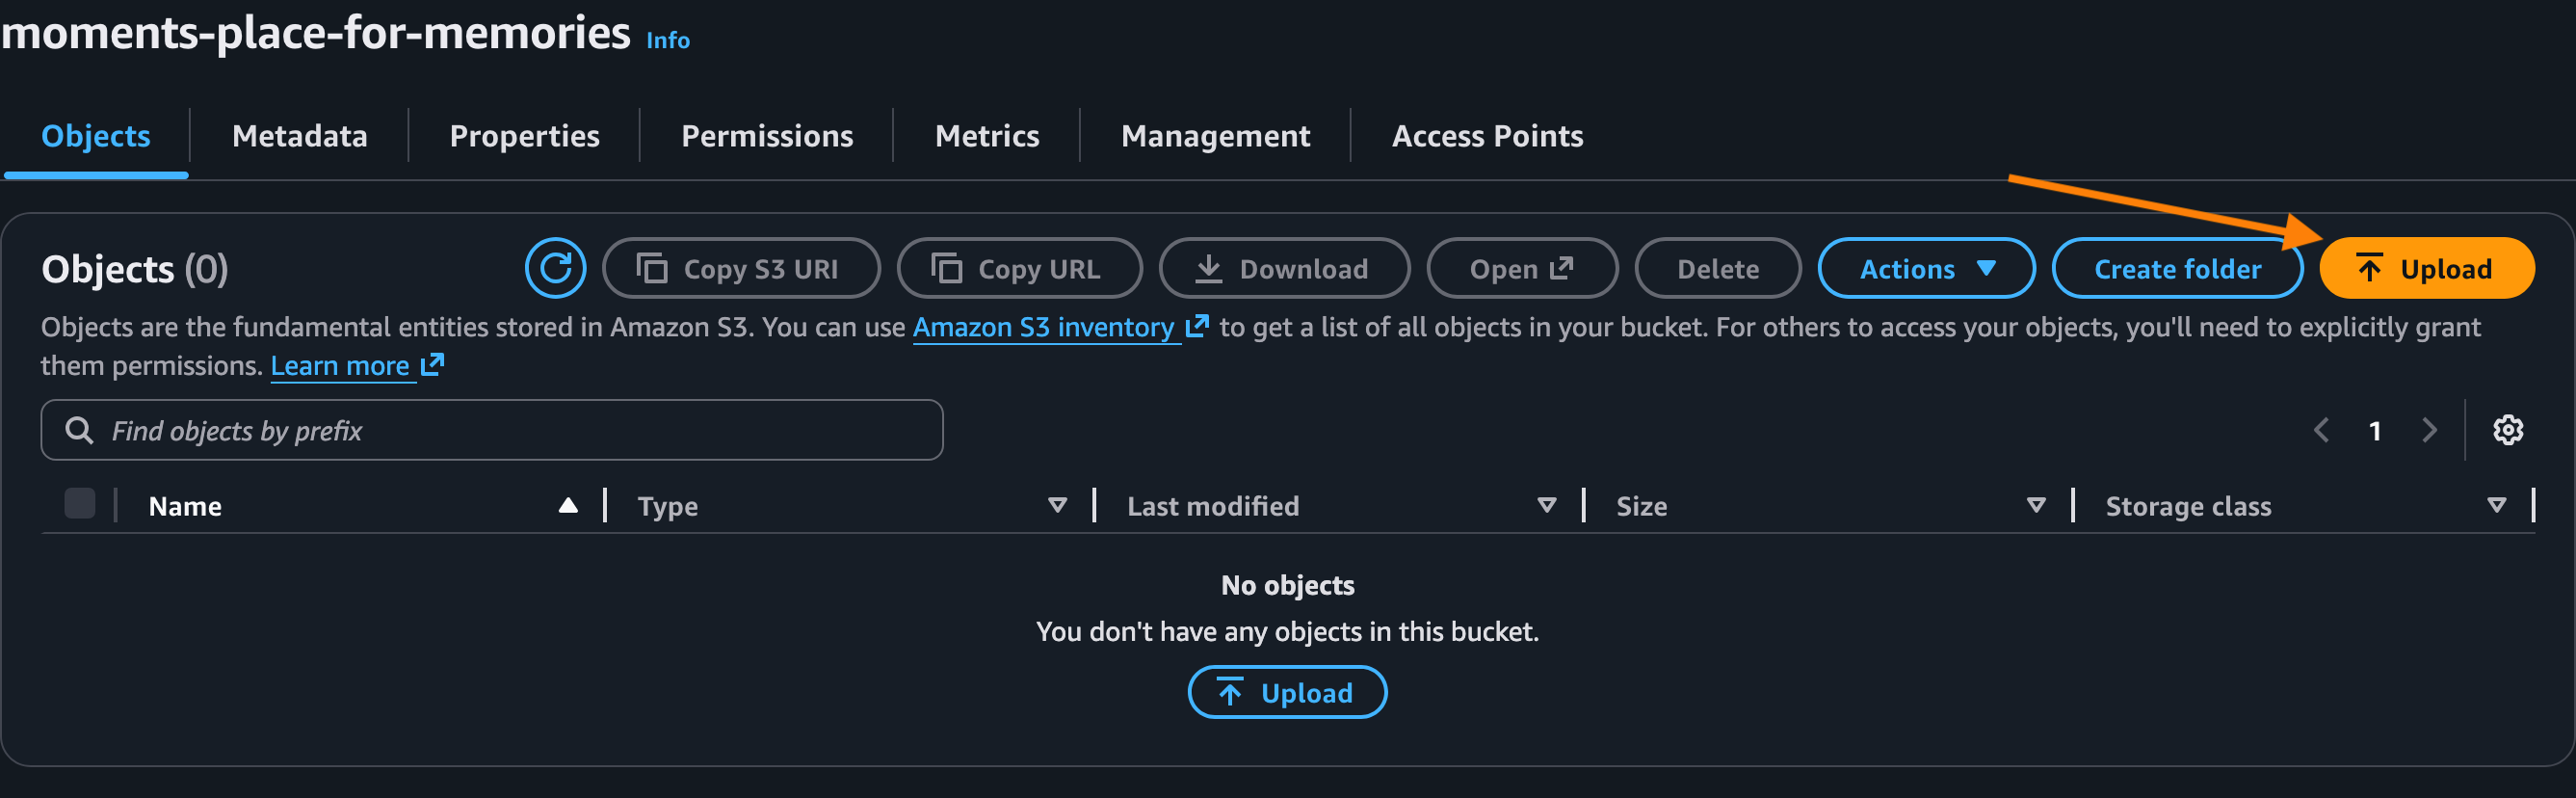
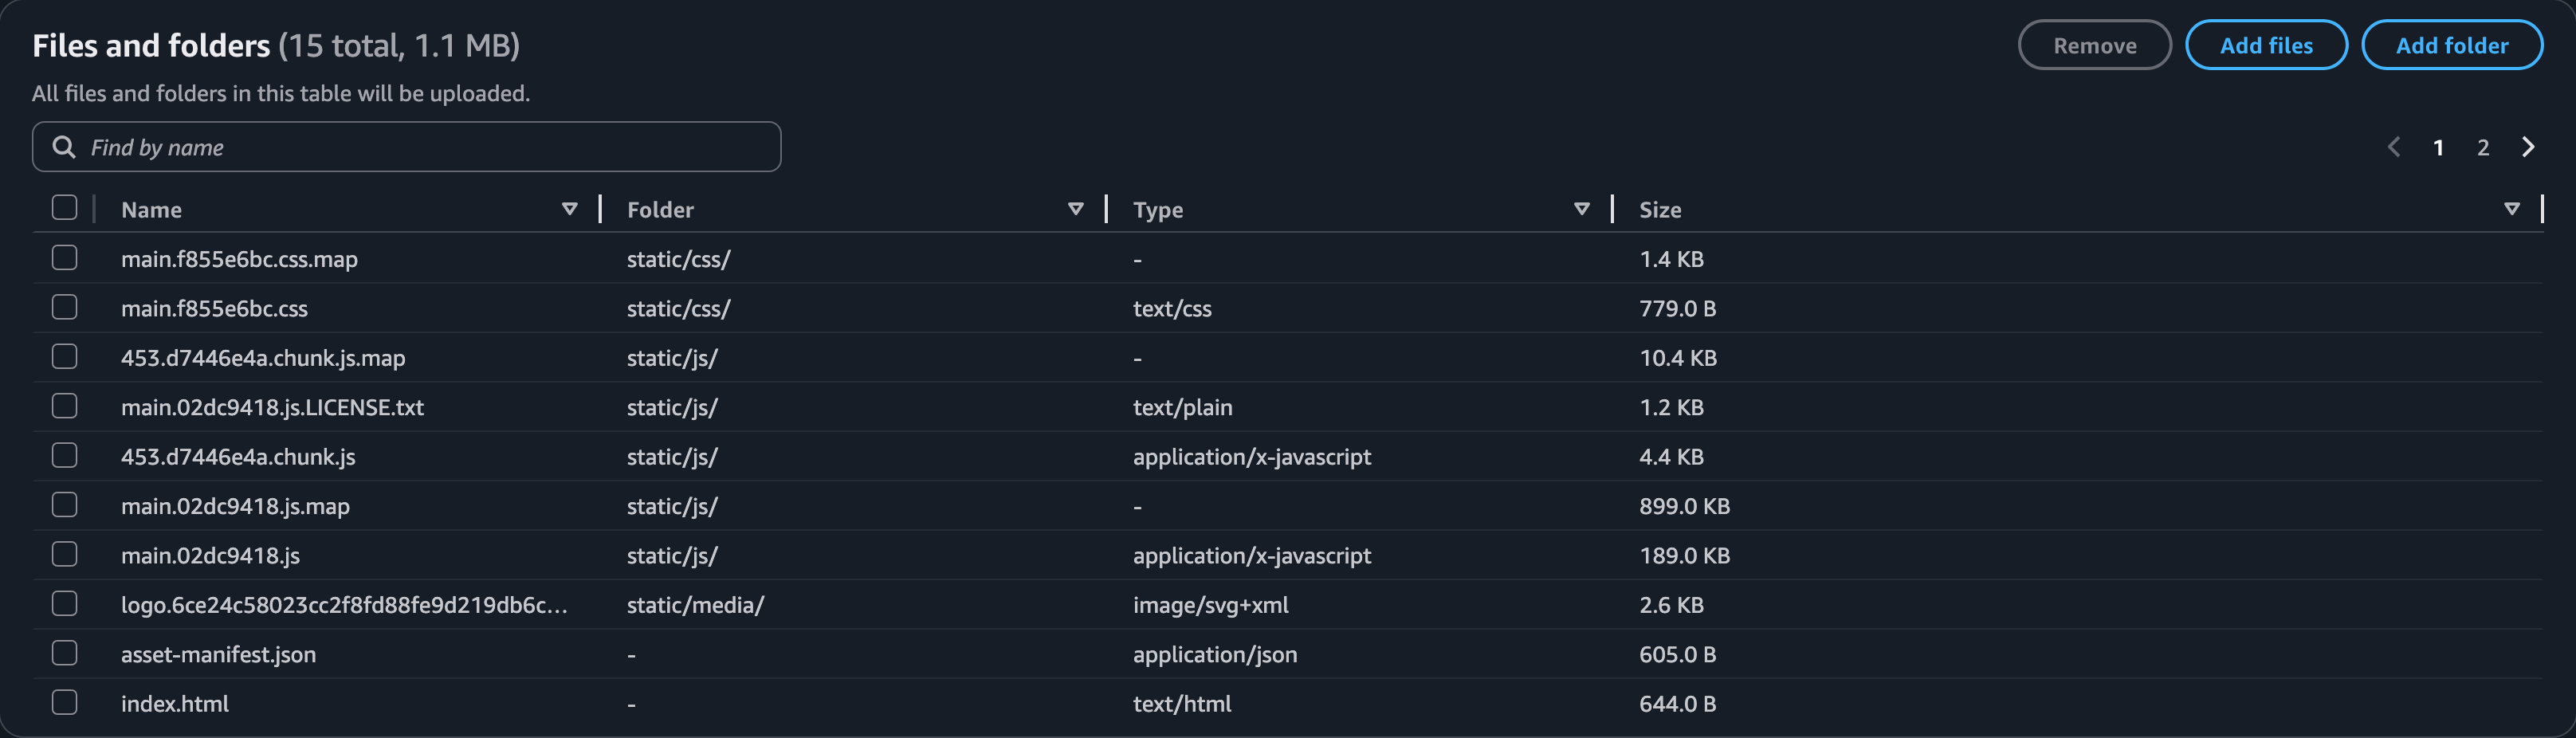
Click on Upload to complete the upload of files.
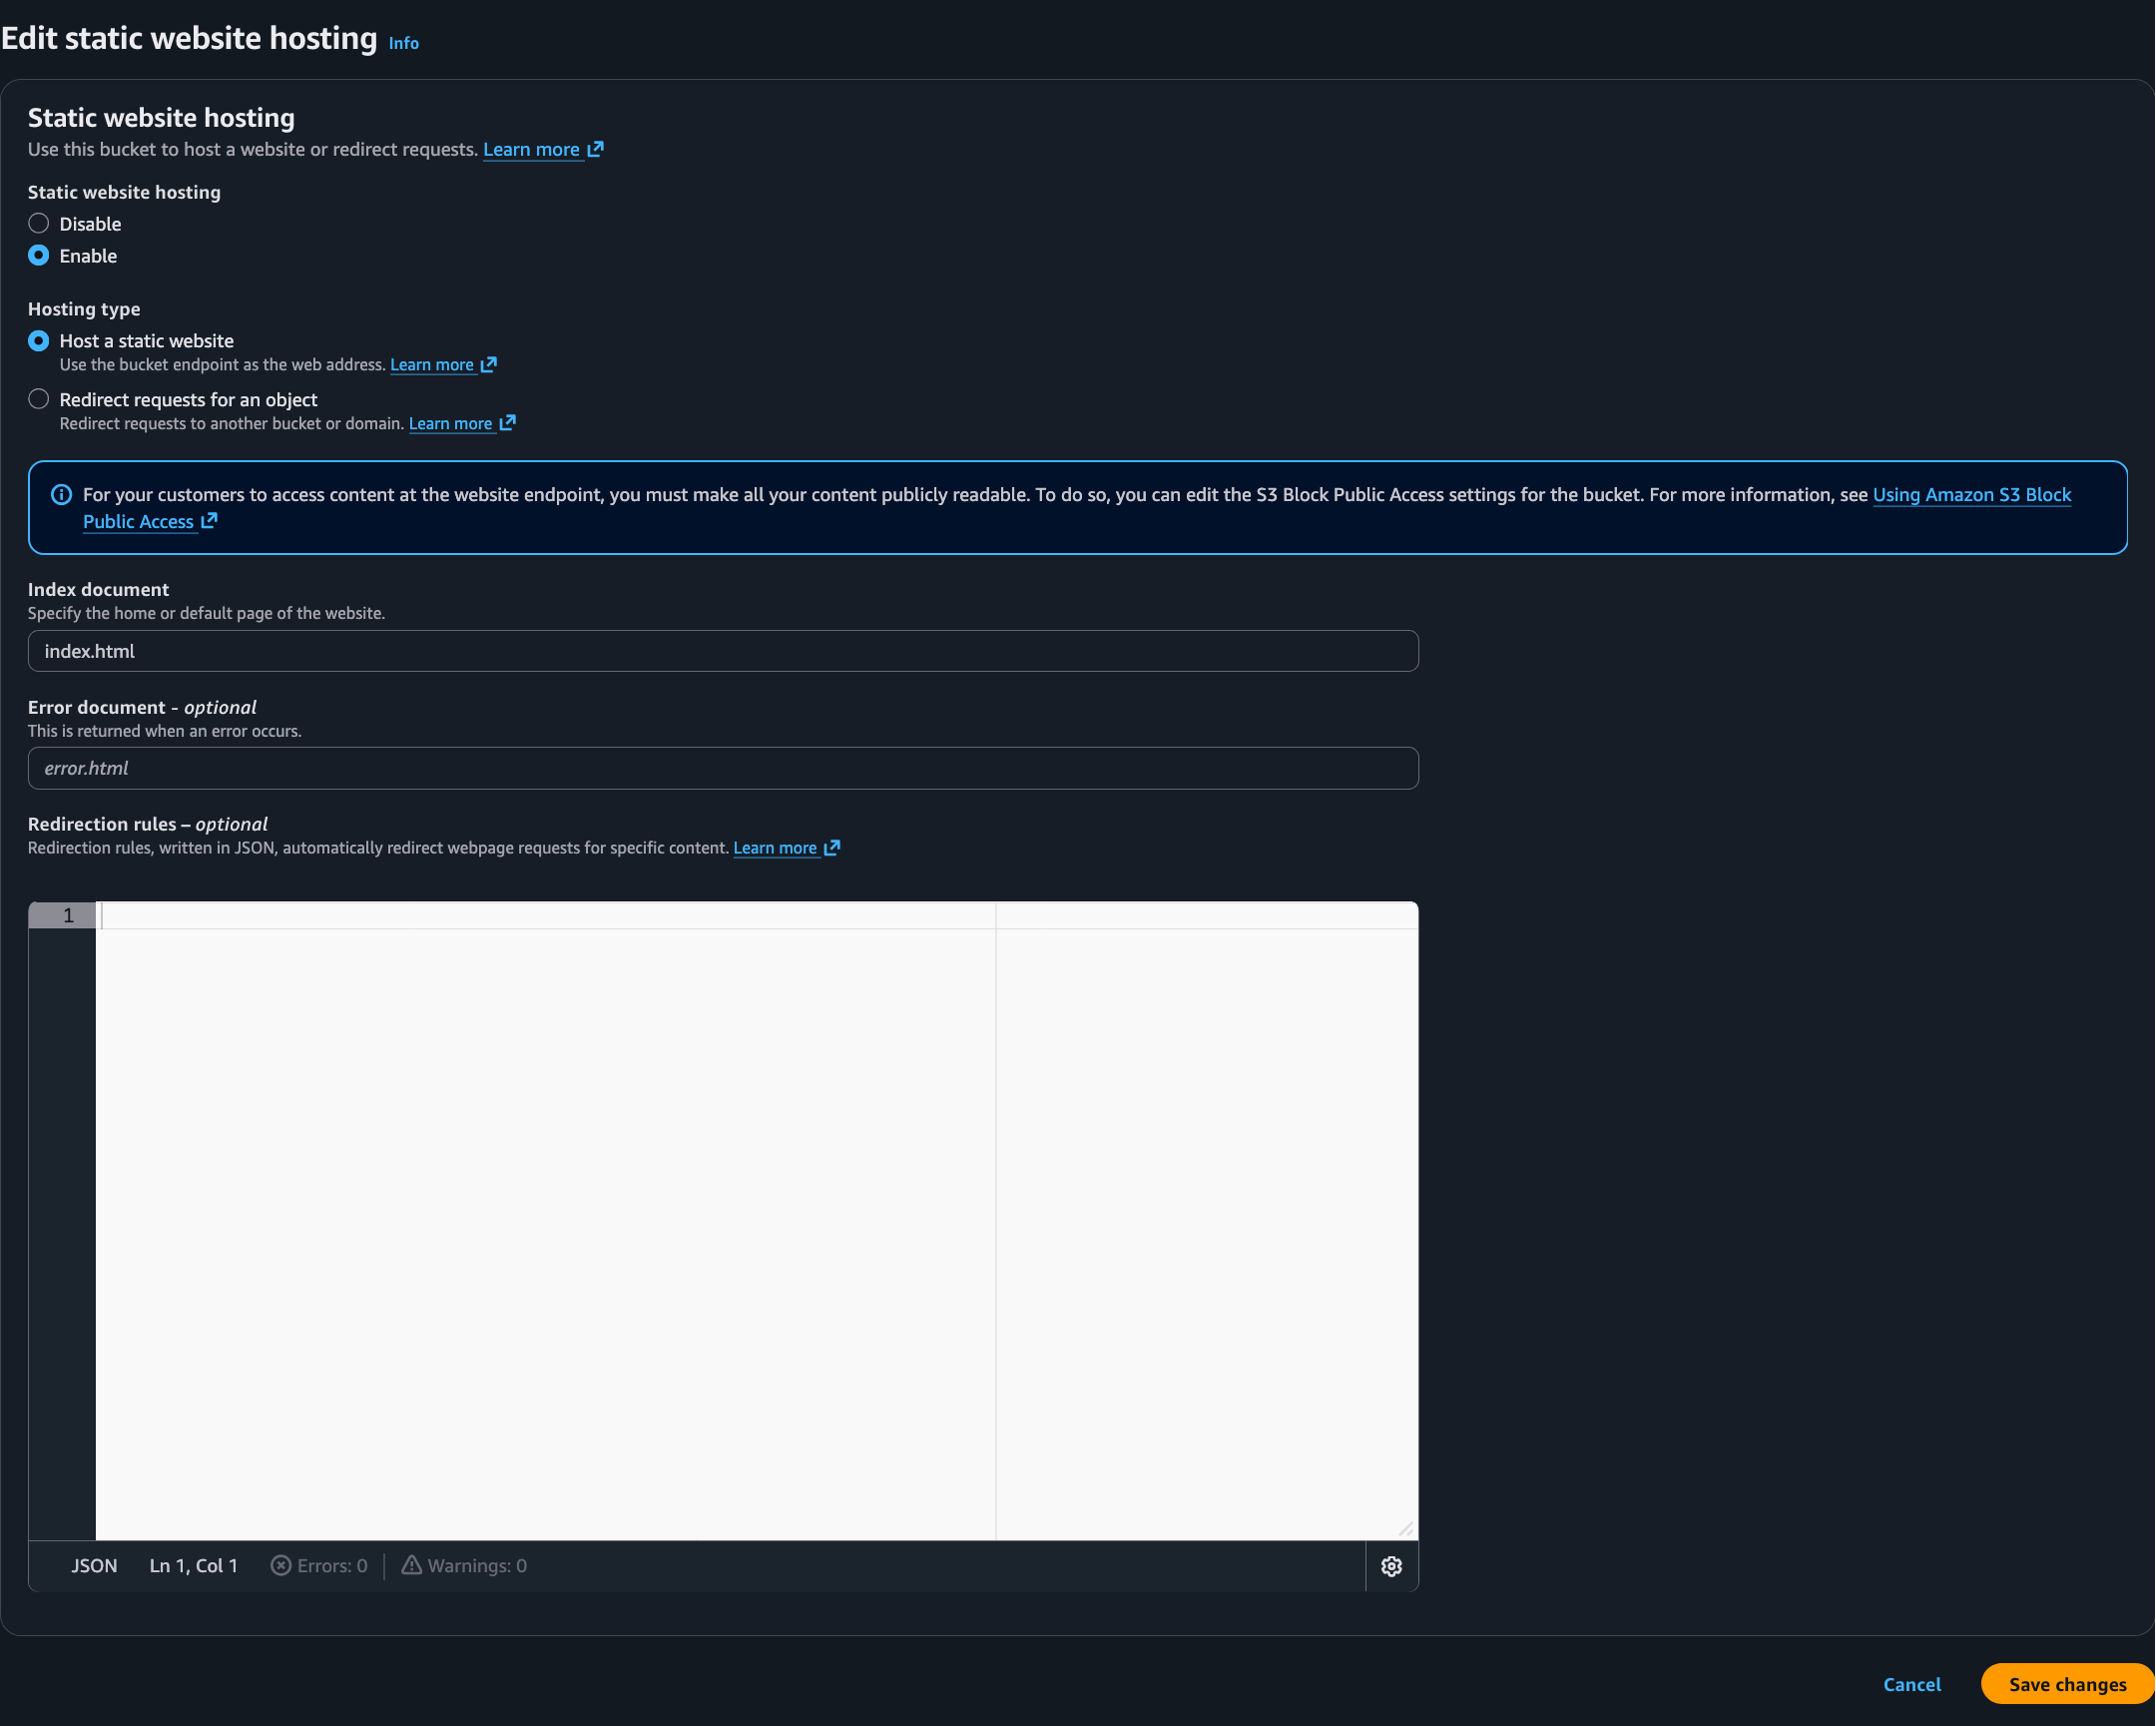
- Enable Static website hosting.
Go to Amazon S3 —> Buckets —> your-bucket. Select the Properties tab. Select the index document as index.html and Save changes.
- Once Static website hosting is enabled, the corresponding endpoint is shown:

- After opening the link, we get a 403 Forbidden error! 🤔
 By default, all AWS resources are forbidden from read/write access for everyone except for S3 itself. For now, let’s enable read access for all. To do this, we need to add a Bucket policy.Copy the following with the appropriate bucket name into the Bucket policy section under the Permissions tab. Now, accessing the S3 static website endpoint again should show the following:
{ "Version": "2012-10-17", "Statement": [ { "Sid": "PublicReadGetObject", "Effect": "Allow", "Principal": "*", "Action": "s3:GetObject", "Resource": "arn:aws:s3:::moments-place-for-memories/*" } ] } Congratulations 🎉 We have deployed the initial version of our application into AWS S3 and are able to access it in the browser.
Anyone accessing S3 without any security is not desirable. In the next post, we will make it secure.
Congratulations 🎉 We have deployed the initial version of our application into AWS S3 and are able to access it in the browser.
Anyone accessing S3 without any security is not desirable. In the next post, we will make it secure.