AWS Environment Setup
- If you don’t have an AWS account already, sign up for a new account here. AWS offers a generous free tier to try out AWS Services.
- The email account you use to create an AWS account is called the root account. This has all permissions to perform actions on your account, including deleting the account itself. Hence, it’s not recommended to use the root account while working with the AWS environment. Instead, create an IAM (Identity and Access Management) user.
IAM is the place where AWS manages Security of its Services through the combination of roles, users, policies etc.
- IAM users will have limited privileges as required. In our case, we will assign admin privileges to a user.
Principle of least privilege is central to AWS Security. Services, Users, or any other components will have minimum level of access privilege as required.
Creating IAM User
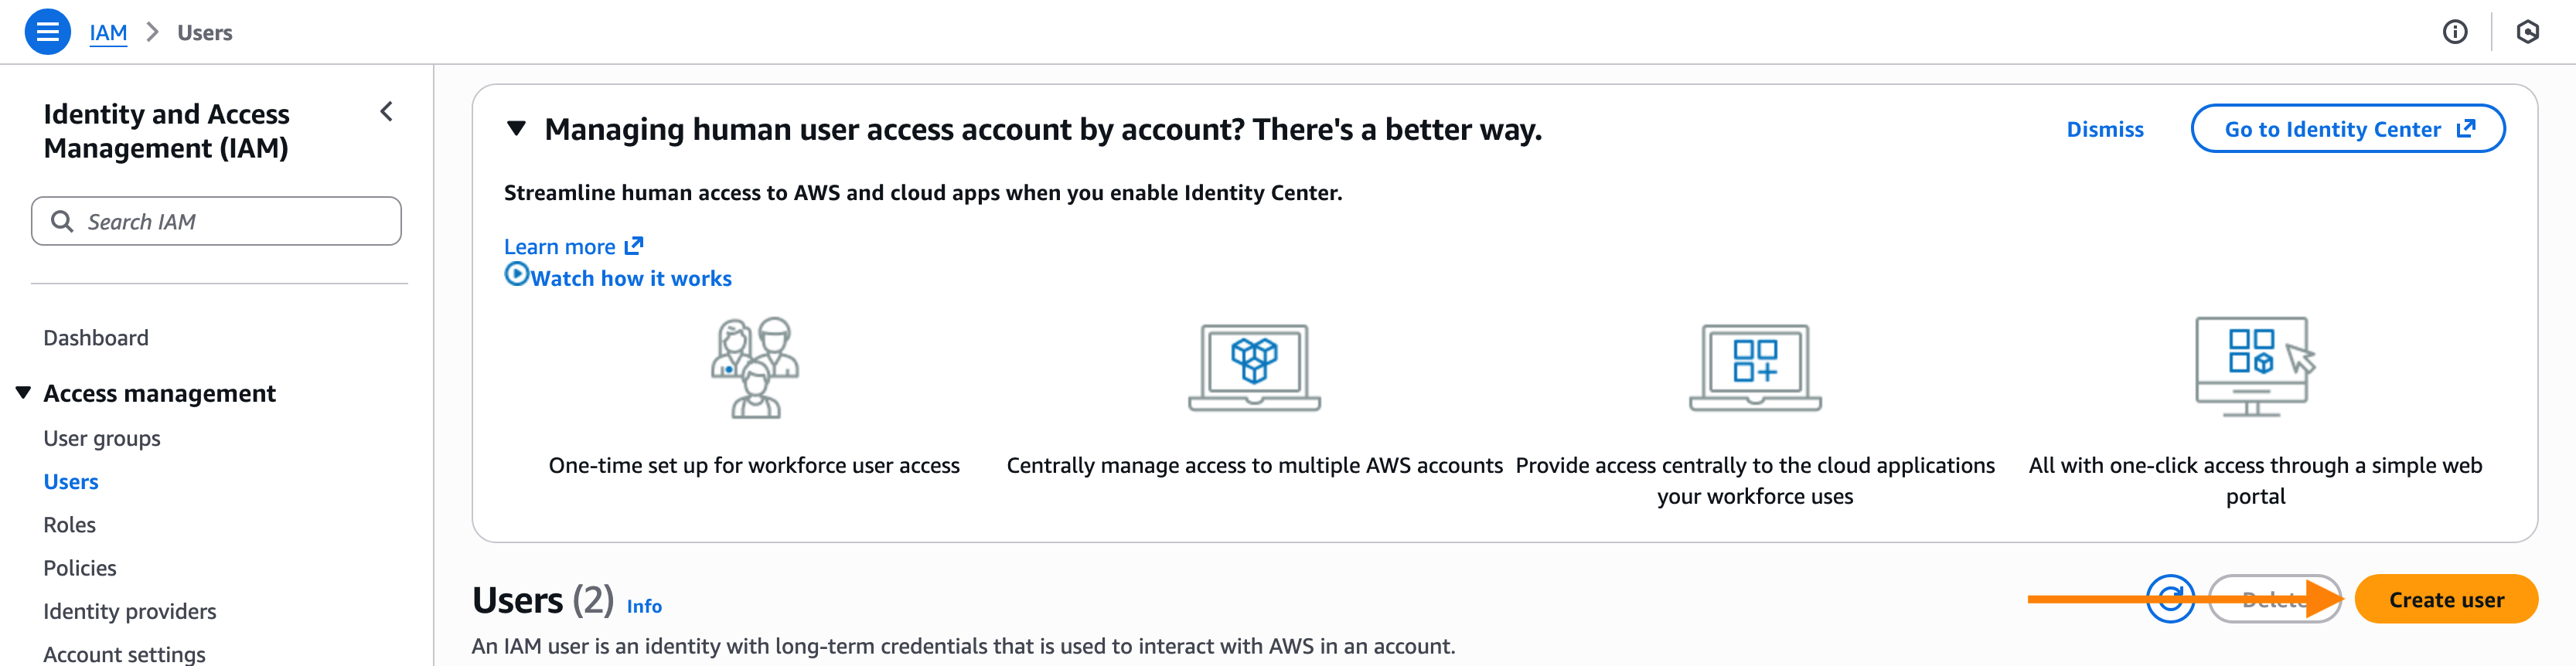
- Login to AWS console using your root account.

- Go to the IAM —> Users page. Click on the Create user button to create a new user.
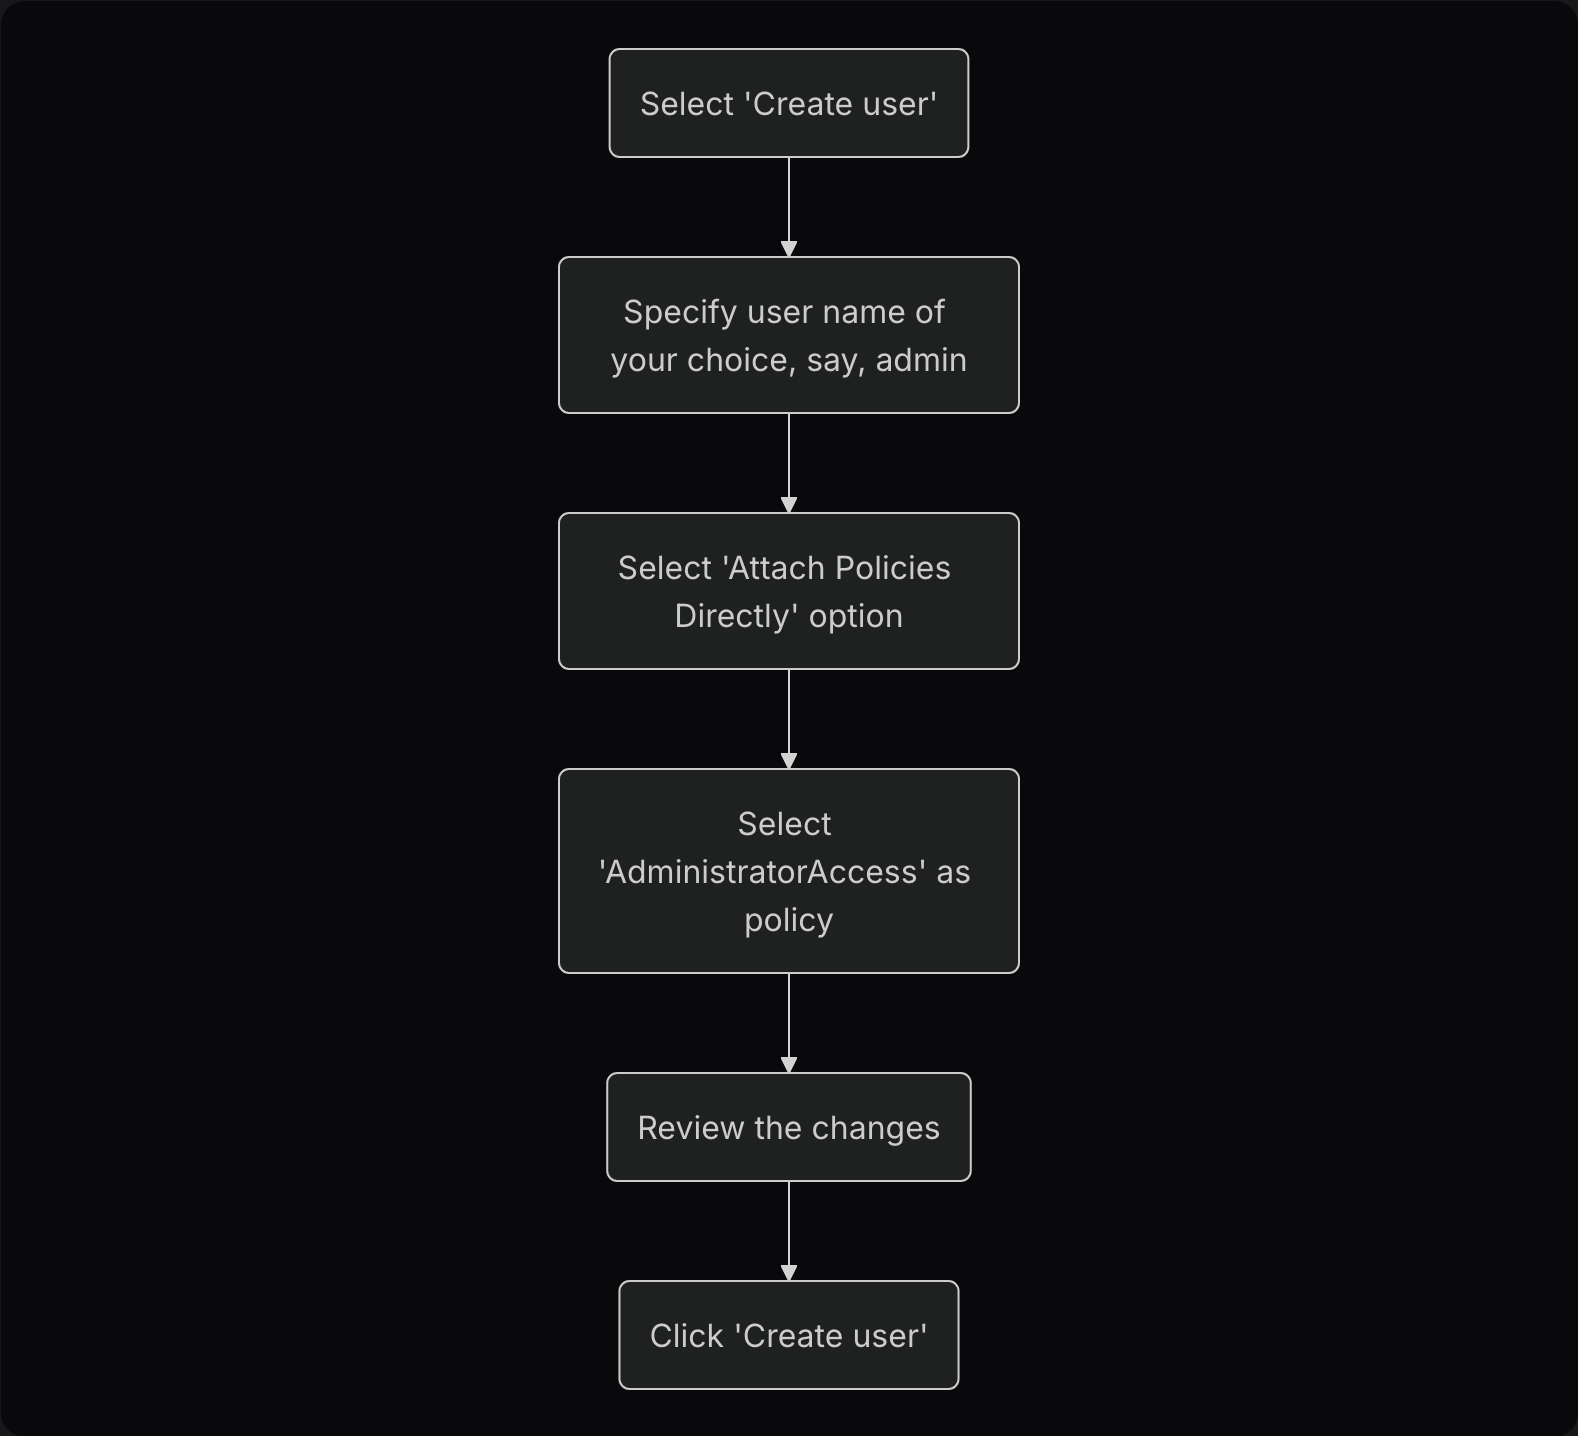
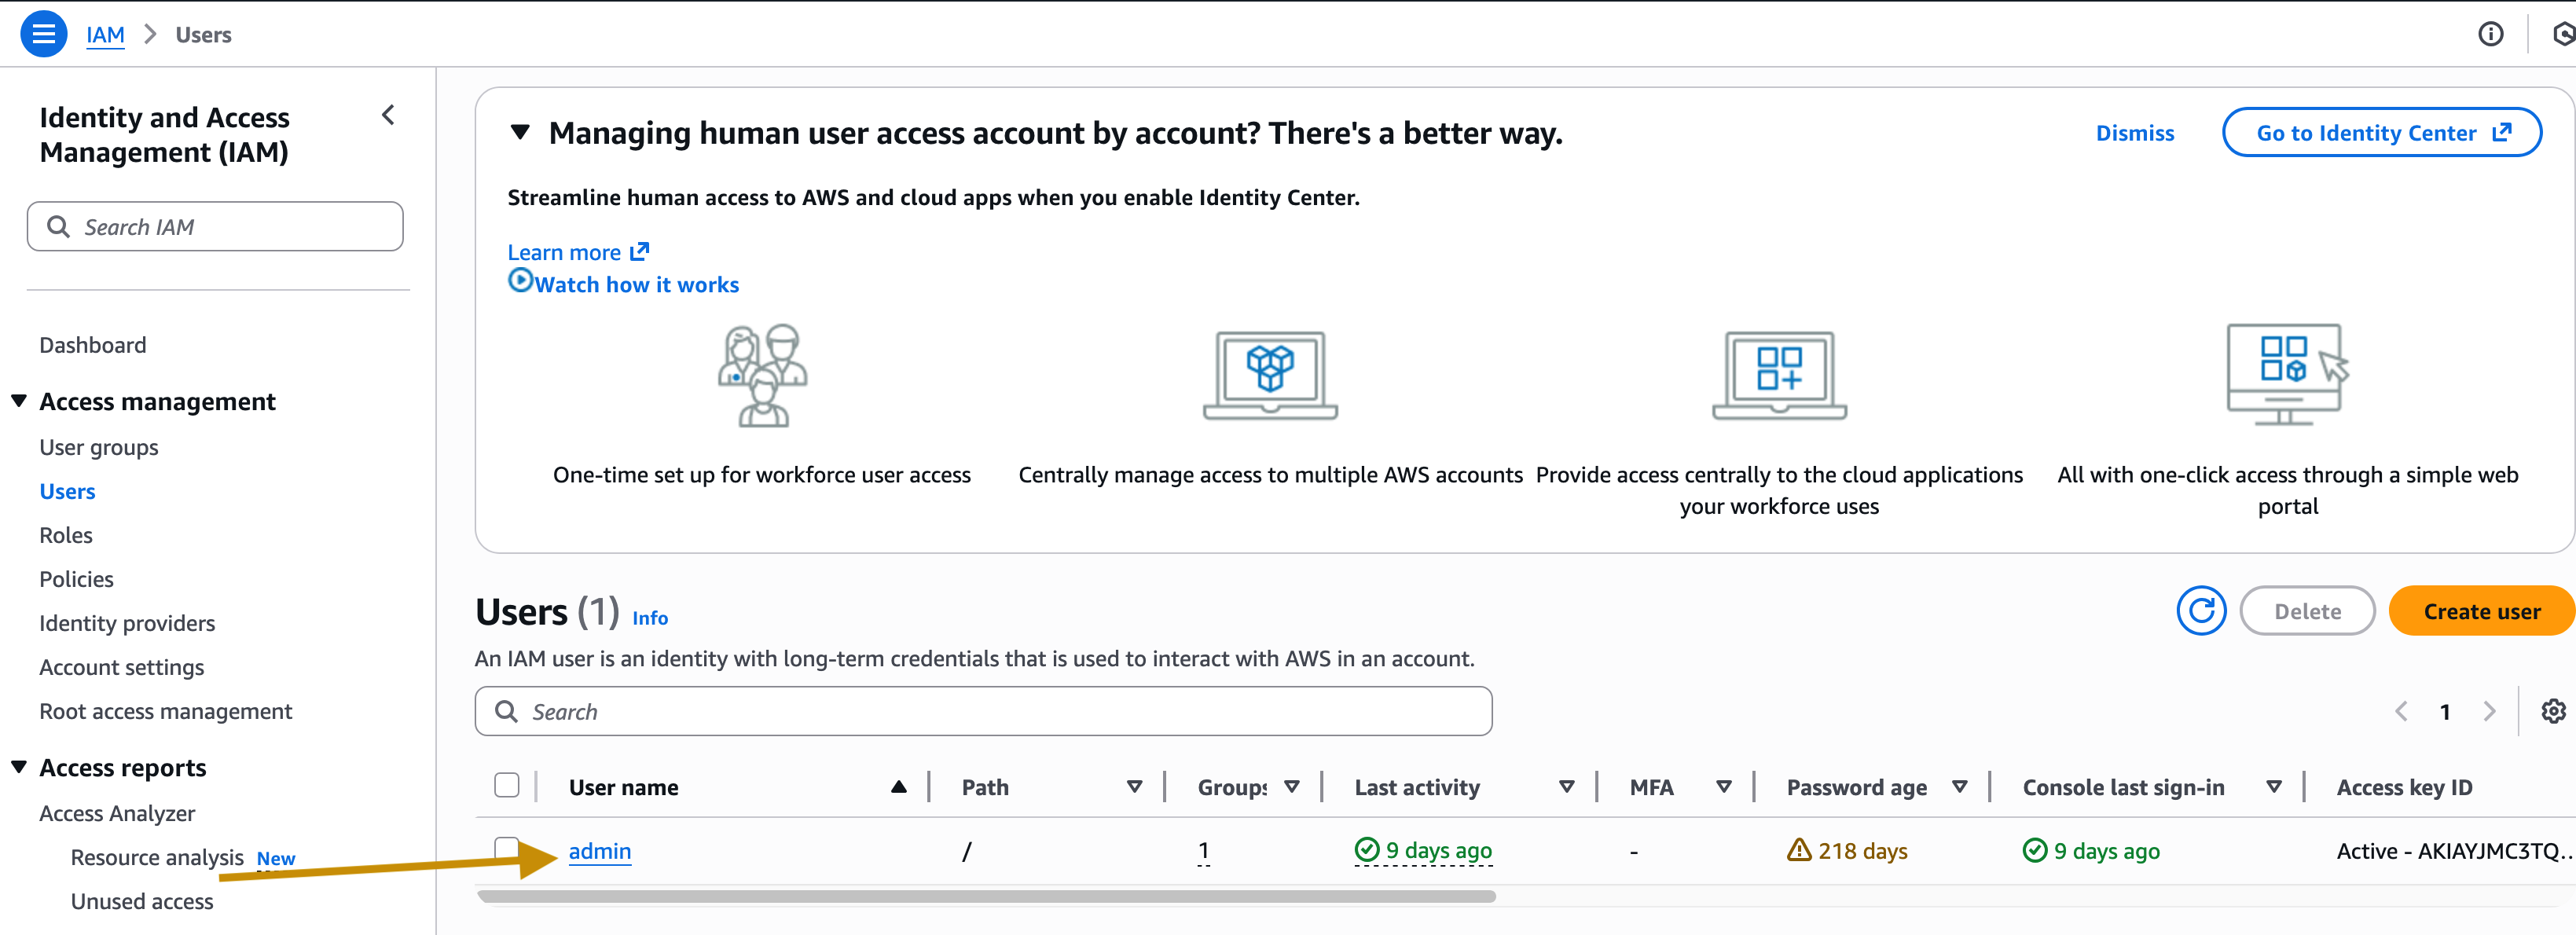
Now, we should have a new IAM user admin created and listed.
Interaction with AWS Services can be done in various ways:
- AWS Management Console
- AWS CLI (Command Line Interface)
- AWS CDK (Cloud Development Kit)
- AWS SDK (Software Development Kit)
- IaC (Infrastructure as Code) tools such as CloudFormation
- Etc.
As part of this post series, we will initially use AWS Management Console and AWS CLI. Later, we may need to use other modes of AWS Service interaction.
AWS Management Console
It’s the web console to interact with AWS. It’s a convenient way to get started with AWS.
Now, with user admin, we will access the AWS console.
- For this, we need to perform one more step: enable console access for the user.
You are still logged into your root account.
Select the user admin in the list.
Select the tab Security credentials on the page.
Click on the Enable console access button. 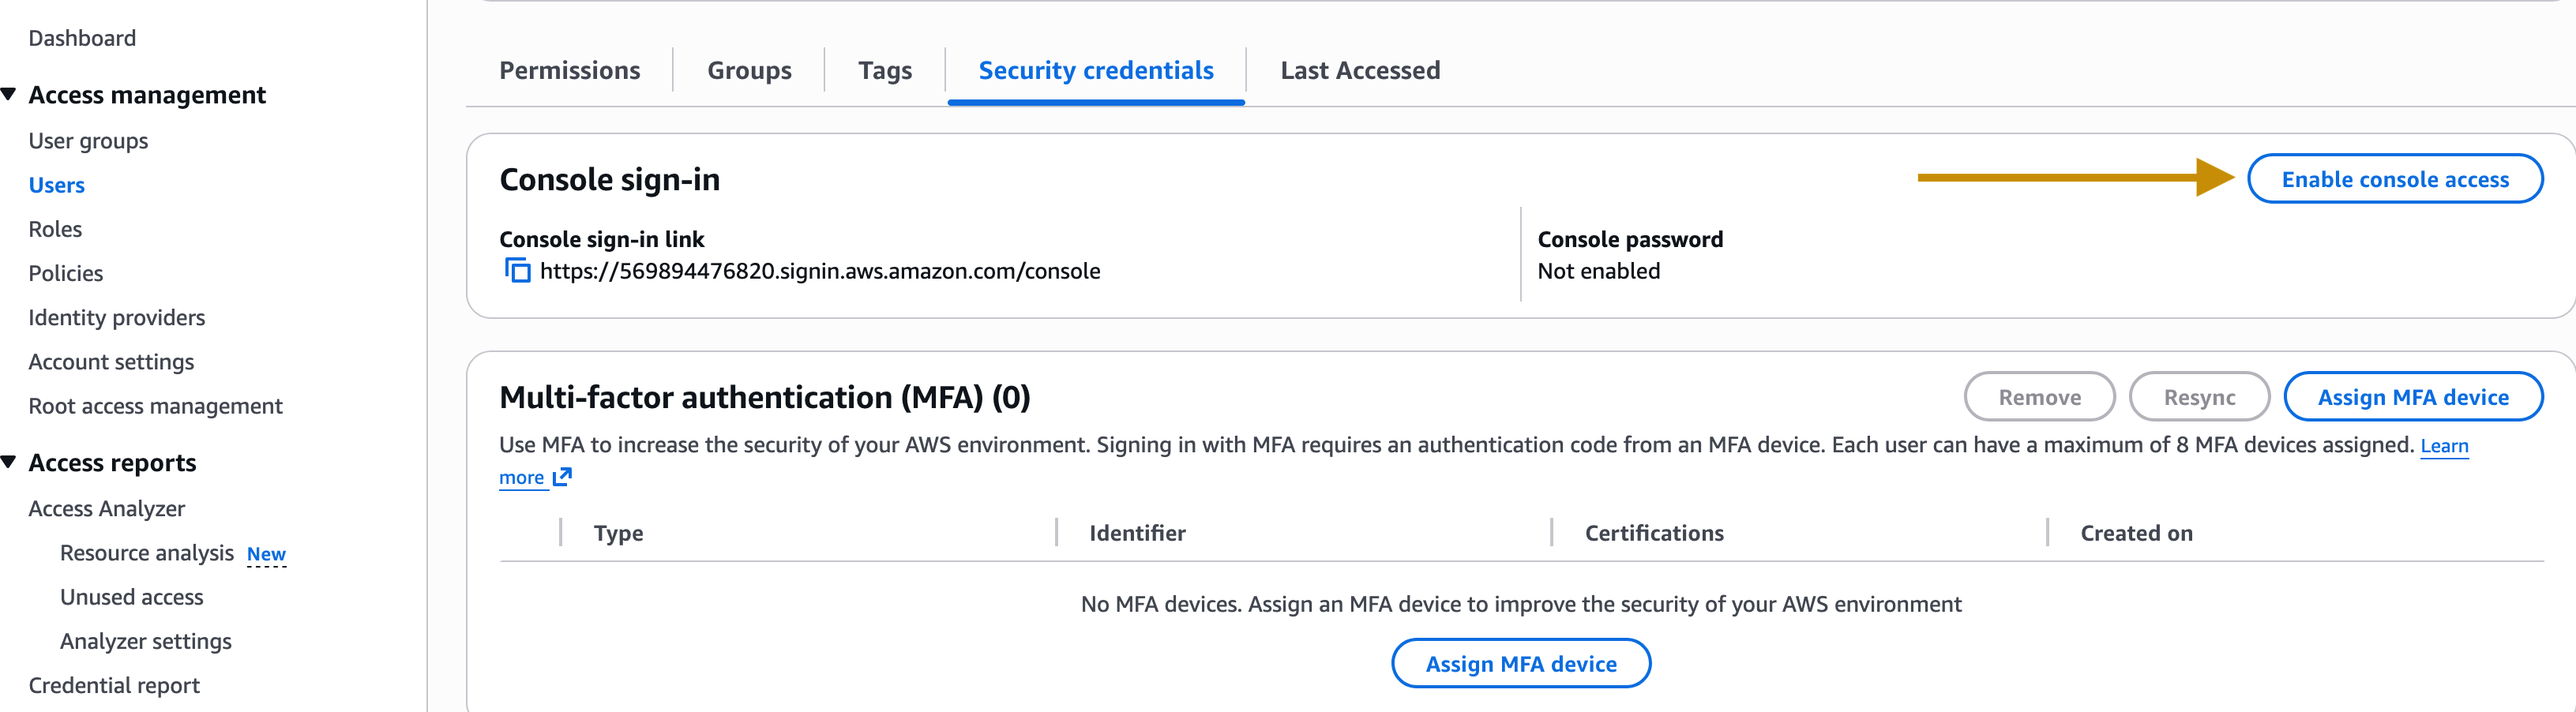
- Select the options for the password for admin. We will keep it simple for now.
Download the .csv file with credential details and keep it safe!
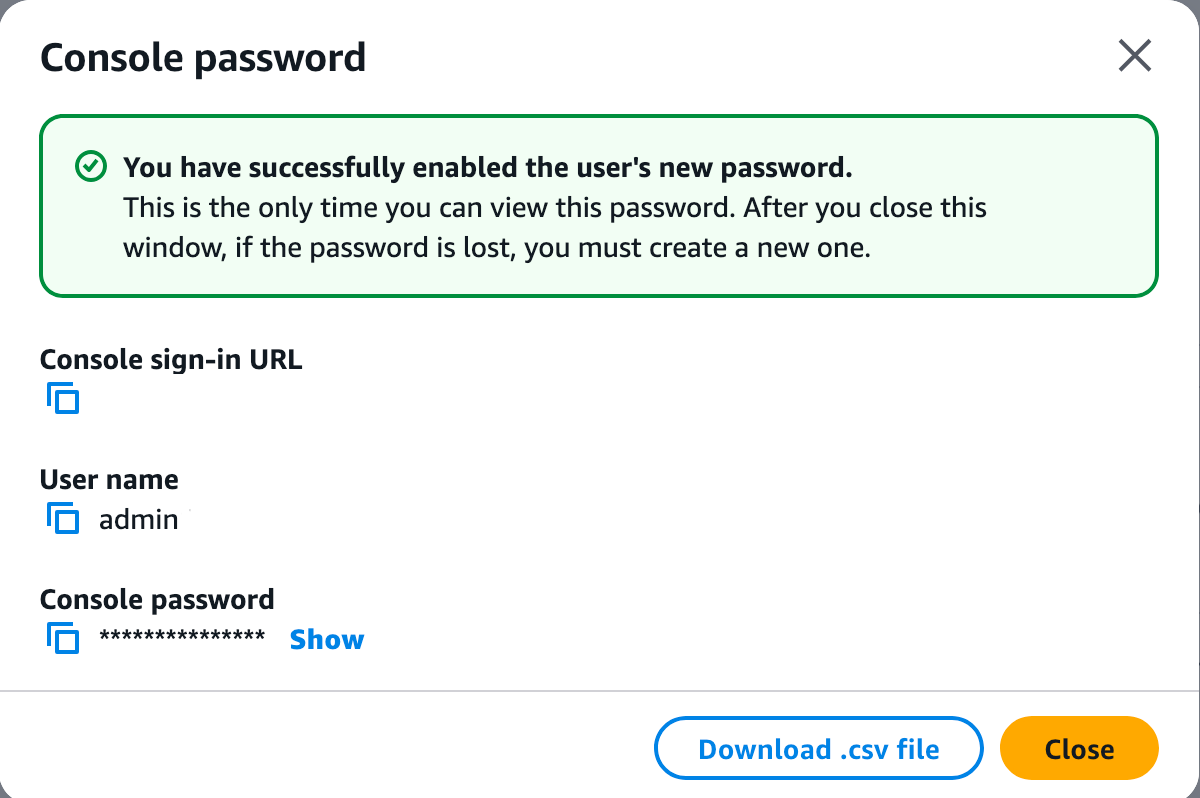
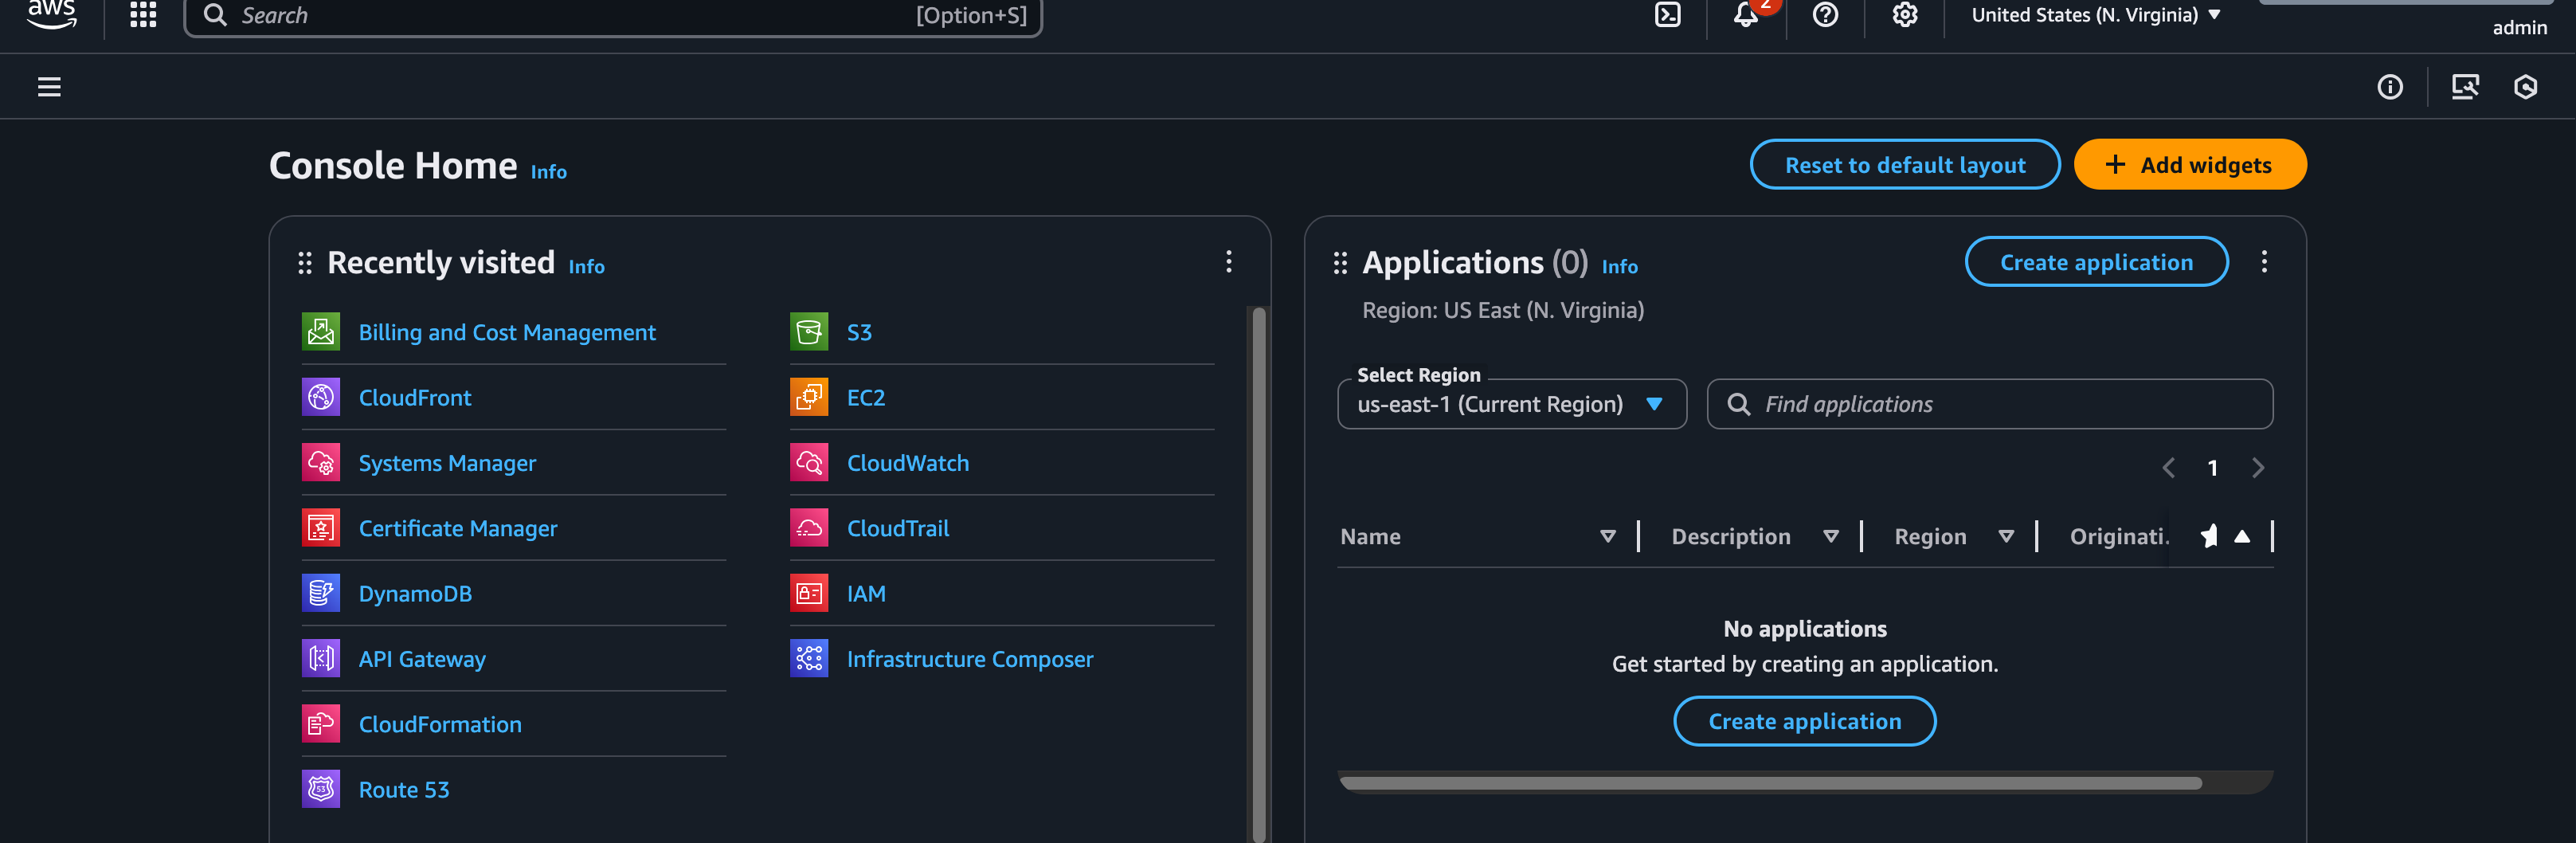
Now, we can log in to the AWS console using the above credentials as the admin user.
AWS CLI
AWS Management Console becomes tedious for advanced use cases. For scripting and repeatable interaction needs, AWS CLI is more convenient. For this, we need to get an access key for the user.
- Go to IAM —> Users —> admin. Select the Security credentials tab. Click the Create access key button.

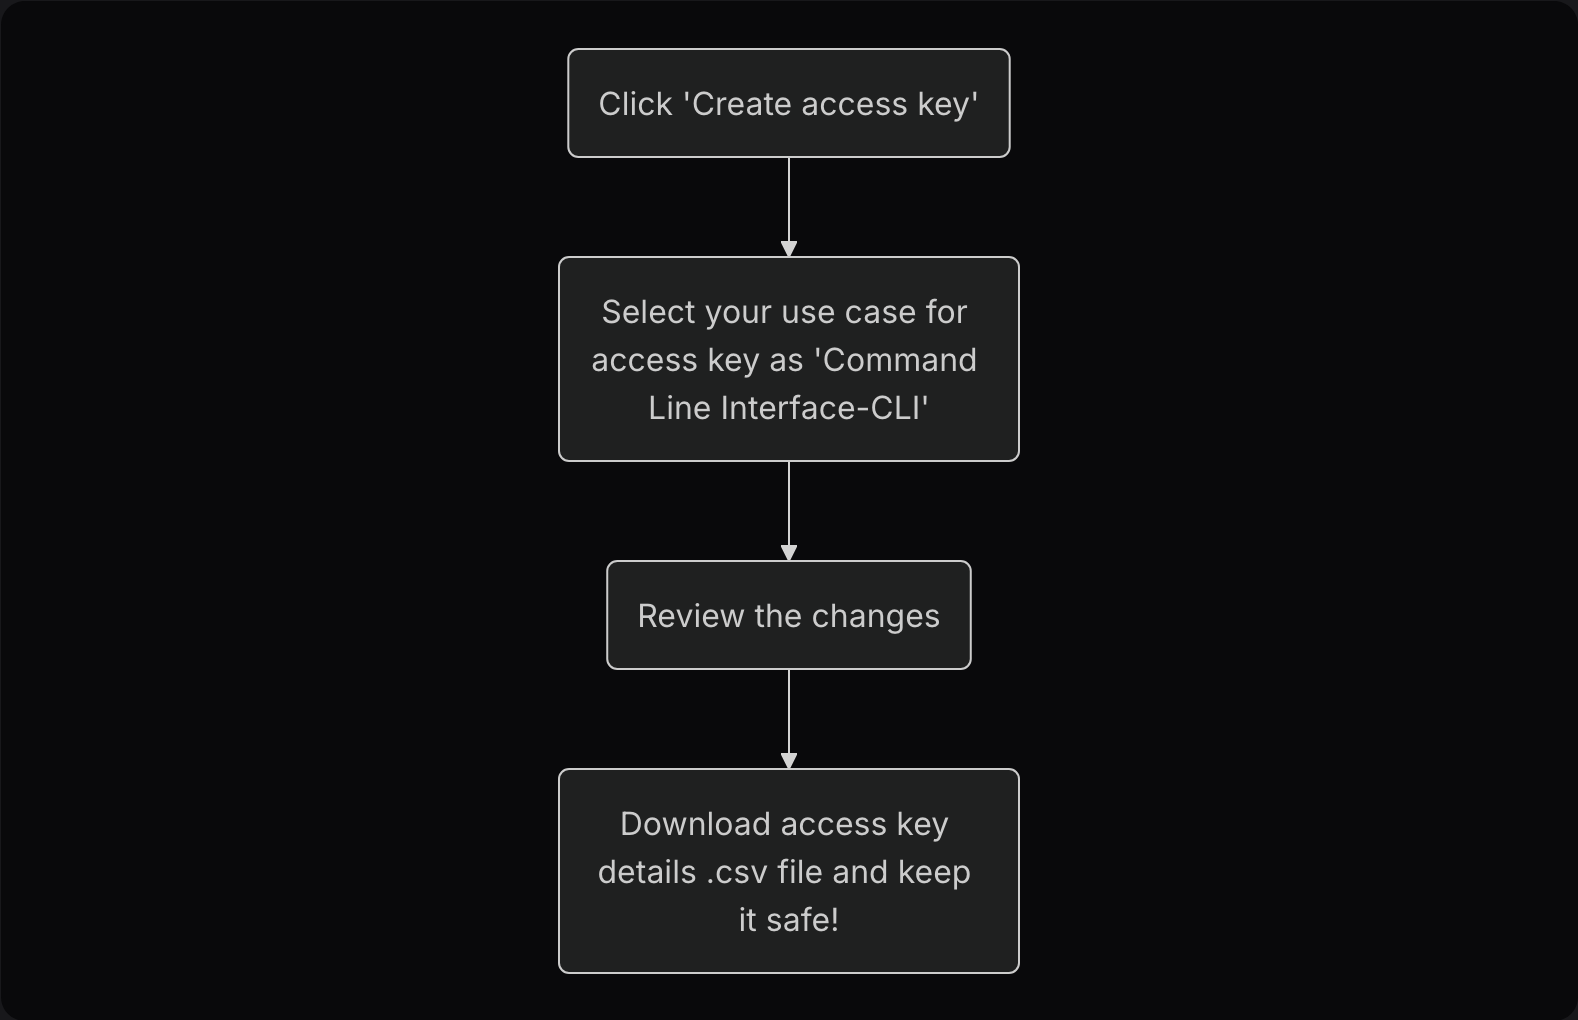

Do not use or share the access key for any other purpose. It’s only for AWS access through CLI for development. We will rely on more secure methods of AWS service interaction in production deployment.
Install AWS CLI
Now, we need to install AWS CLI on the local system. Refer to this for steps to install it according to whether your local system OS is Windows, Linux, or macOS.
For macOS:
# Install
curl "https://awscli.amazonaws.com/AWSCLIV2.pkg" -o "AWSCLIV2.pkg"
sudo installer -pkg AWSCLIV2.pkg -target /

# Verify the installation
$ which aws
/usr/local/bin/aws
$ aws --version
aws-cli/2.27.41 Python/3.11.6 Darwin/23.3.0
- Configure AWS CLI using
aws configure.
Specify the access key and secret access key as created in earlier steps.
Choose the AWS region of your choice.
You can leave the output format empty for now.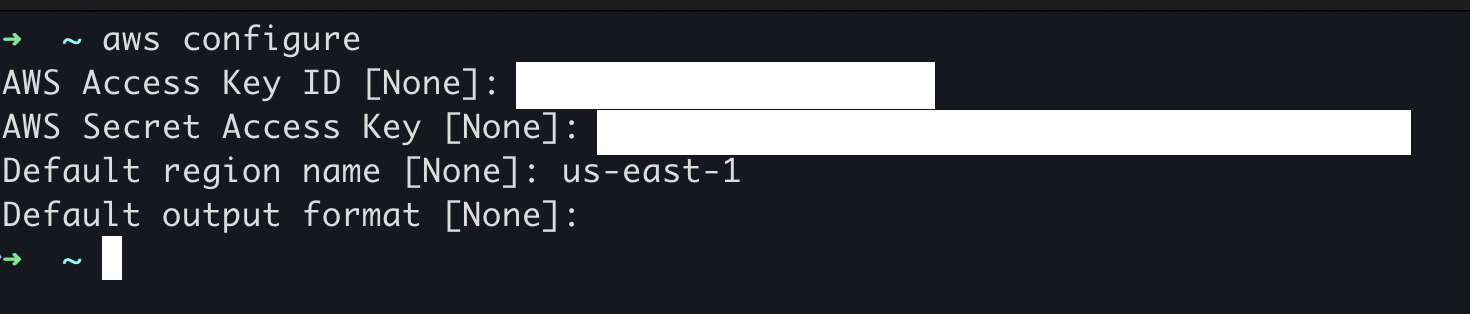
- Verify whether you are connected to AWS using
aws ec2 describe-instances, which will show an empty list of EC2 instances since we haven’t created any yet.
    ➜  ~ aws ec2 describe-instances
    {
        "Reservations": []
    }
Congratulations 🎉 We are ready to build an AWS application. From the next post onward, we will transform an idea into an AWS implementation.